Choosing the Right Replacement
Replacing your bathroom medicine cabinet can be a simple upgrade that enhances both functionality and aesthetics. This guide will help you choose the right replacement for your needs.
Types of Bathroom Medicine Cabinets
Medicine cabinets come in a variety of styles and materials to suit different preferences and budgets. Here are some common types:
- Recessed Medicine Cabinets: These cabinets are installed directly into the wall, creating a seamless and integrated look. They offer a clean, minimalist aesthetic and maximize space.
- Surface-Mount Medicine Cabinets: These cabinets are mounted directly onto the wall surface. They are typically easier to install and offer more flexibility in placement.
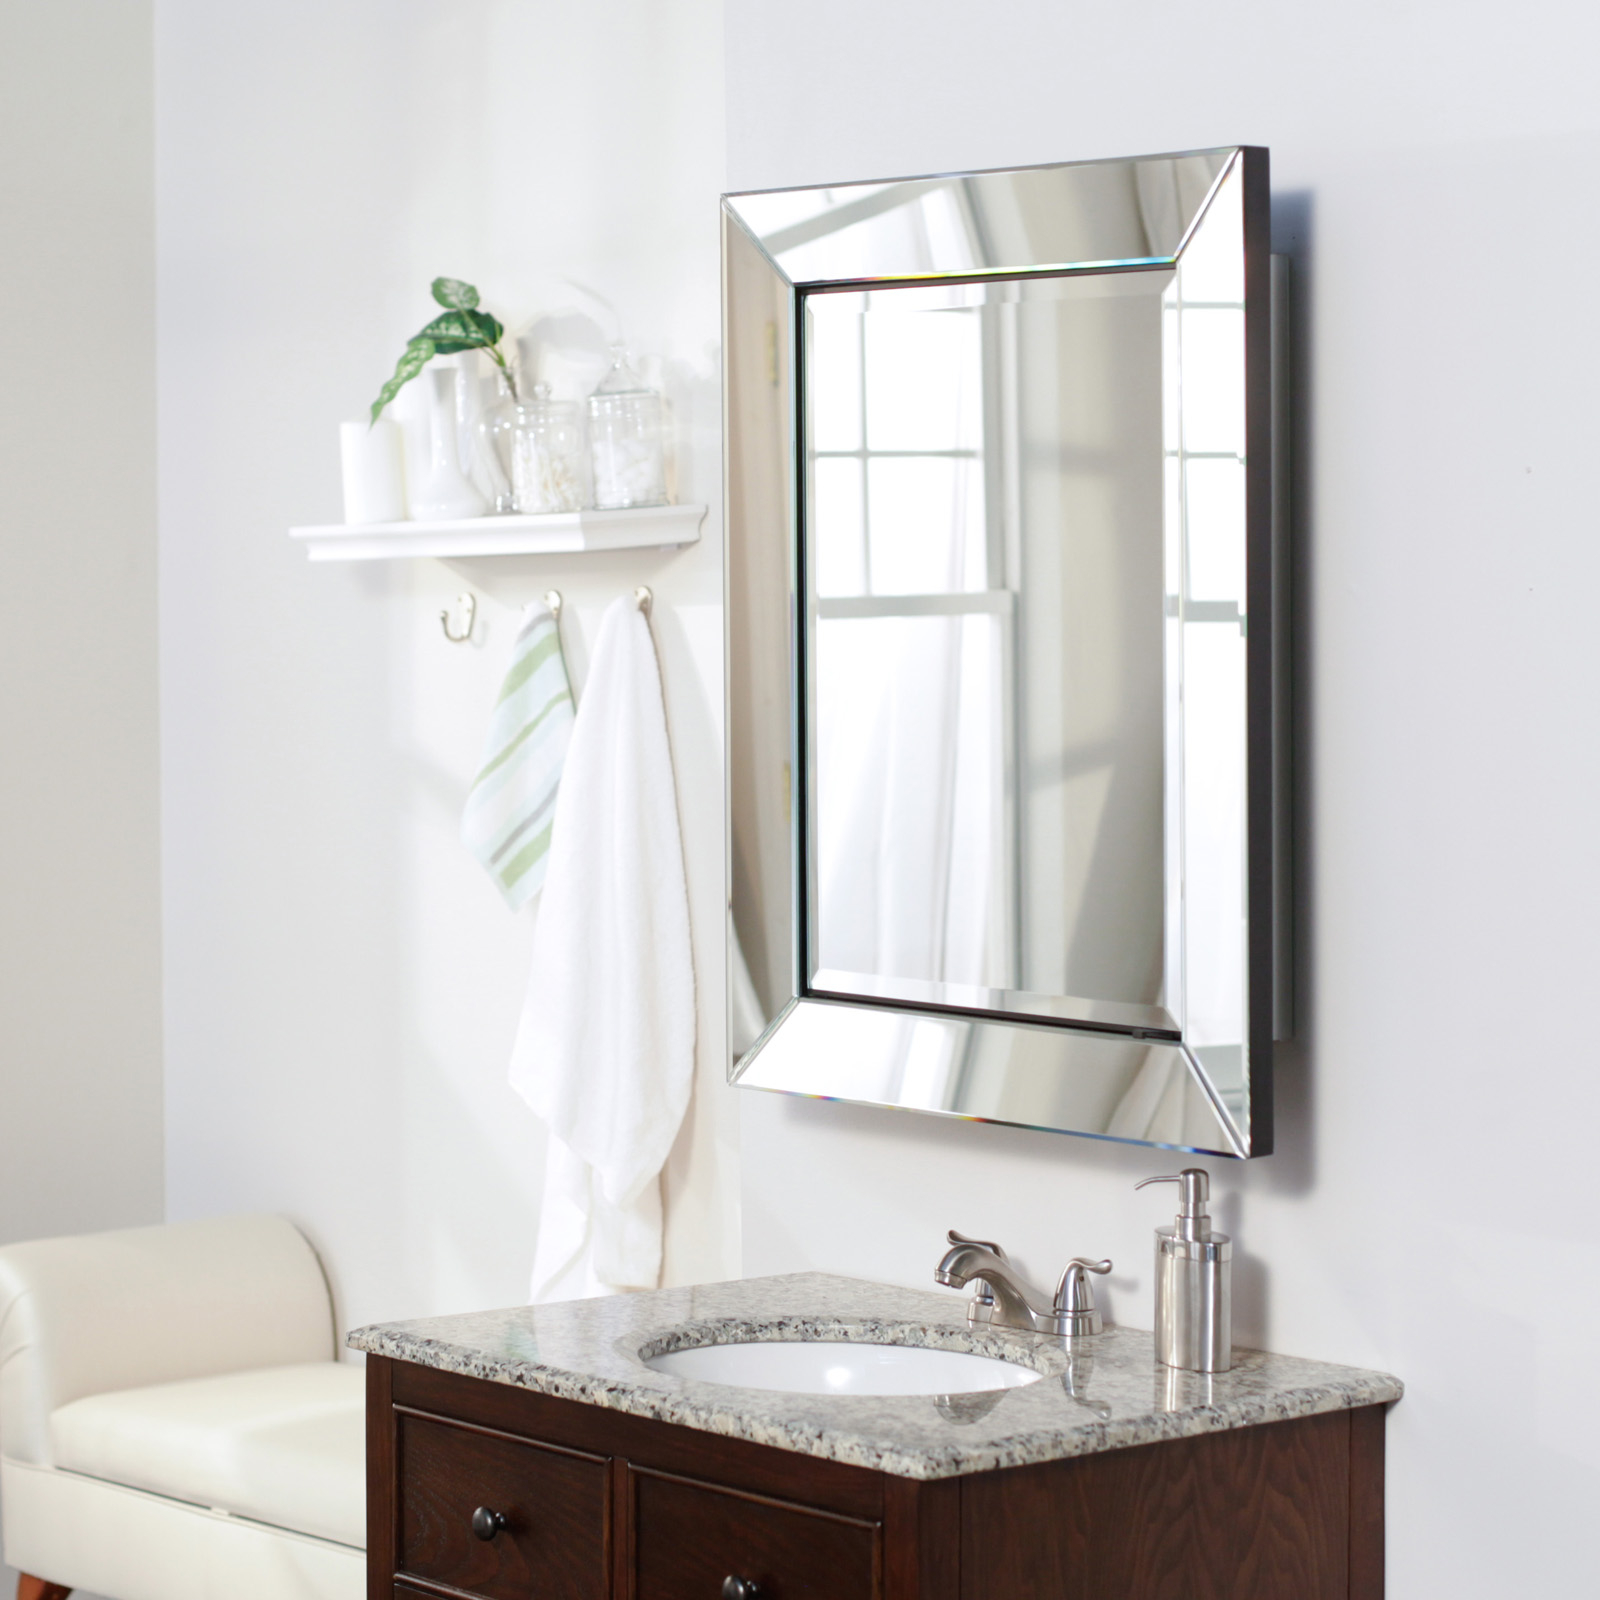
- Mirrored Medicine Cabinets: These cabinets combine a mirror with storage space, eliminating the need for a separate mirror. They come in various styles, including traditional, modern, and contemporary.
Materials, How to replace bathroom medicine cabinet
Medicine cabinets are typically made from materials like:
- Wood: Offers a classic look and can be stained or painted to match your décor.
- Metal: Provides durability and a modern aesthetic.
- Plastic: Affordable and lightweight, but may not be as durable as other materials.
Features
Medicine cabinets can come with various features to enhance functionality and convenience:
- Interior Lighting: Provides better visibility inside the cabinet.
- Adjustable Shelves: Allows you to customize storage space for different items.
- Built-in Outlets: Provides convenient access to electricity for hair dryers, electric toothbrushes, and other appliances.
- Mirror Defogger: Prevents condensation from fogging up the mirror.
Installation Methods
The installation method depends on the type of medicine cabinet you choose:
- Recessed Installation: Requires cutting into the wall and framing, which may involve professional help.
- Surface-Mount Installation: Typically involves attaching the cabinet to the wall using screws or brackets, making it a DIY-friendly option.
Choosing the Right Size and Style
The size and style of your medicine cabinet should complement the existing bathroom décor and space.
- Measure the Space: Before purchasing, accurately measure the available space to ensure the cabinet fits.
- Consider the Style: Choose a style that complements your bathroom décor, such as traditional, modern, or contemporary.
- Think About Storage Needs: Consider how much storage space you require and choose a cabinet with enough shelves and compartments.
Preparation and Removal: How To Replace Bathroom Medicine Cabinet
Before embarking on the replacement process, ensure you have the necessary tools and take safety precautions. This step involves disconnecting the electrical wiring if the old cabinet has a light fixture and carefully removing the old cabinet, paying attention to screws, brackets, and potential damage.
Disconnecting Electrical Wiring
If your old medicine cabinet has a light fixture, it’s crucial to disconnect the electrical wiring before proceeding. This ensures your safety and prevents electrical shock.
- Turn off the power. Locate the circuit breaker controlling the medicine cabinet’s light and switch it to the “off” position. To confirm the power is off, use a non-contact voltage tester to check the wires leading to the light fixture.
- Remove the cover plate. Unscrew the cover plate surrounding the light switch or outlet connected to the medicine cabinet.
- Disconnect the wires. Carefully disconnect the wires from the light fixture’s terminals. Use a wire stripper to expose a small amount of wire if necessary. Take note of the wire colors (usually black, white, and ground) to ensure proper reconnection later.
- Secure the wires. Once the wires are disconnected, secure them with electrical tape or wire nuts to prevent accidental contact.
Removing the Old Medicine Cabinet
Removing the old medicine cabinet requires careful attention to the screws, brackets, and potential damage to the wall.
- Locate and remove screws. Identify the screws holding the medicine cabinet to the wall. These screws are usually located on the sides or top of the cabinet. Use a screwdriver or drill to remove the screws.
- Gently detach the cabinet. Once the screws are removed, carefully detach the cabinet from the wall. Be cautious not to apply excessive force, as this could damage the wall or the cabinet itself.
- Remove brackets. After removing the cabinet, detach any brackets or mounting plates attached to the wall. These brackets may be held in place by screws or clips.
- Inspect for damage. Examine the wall for any damage caused during removal. If there are holes or cracks, you may need to patch them before installing the new medicine cabinet.
Proper Disposal
Properly disposing of the old medicine cabinet and its components is essential.
- Separate components. Disassemble the old medicine cabinet into its individual components, such as the cabinet door, frame, and shelves.
- Recycle or dispose. Recycle or dispose of the components according to local regulations. Metal components can often be recycled, while wood or plastic components may need to be disposed of in a landfill.
Installation and Finishing

With the old cabinet removed and the wall prepared, you’re ready to install the new medicine cabinet. This step involves attaching the cabinet to the wall, ensuring it’s level, and securing it properly.
Installing the Medicine Cabinet
Installing the new medicine cabinet is the heart of the replacement process. Here’s how to do it:
- Attaching the Brackets: The first step is to attach the brackets that will support the cabinet. These brackets usually come with the cabinet and are designed to fit specific wall types. Refer to the manufacturer’s instructions for proper placement and attachment.
- Leveling the Cabinet: Before attaching the cabinet to the brackets, it’s crucial to ensure it’s level. Use a level to adjust the cabinet’s position until it’s perfectly horizontal. This will prevent the cabinet from tilting or looking uneven.
- Securing the Cabinet: Once the cabinet is level, secure it to the brackets using the provided screws. Tighten the screws firmly, but avoid overtightening, as this can damage the cabinet or the wall.
Connecting Electrical Wiring
If your new medicine cabinet has a light fixture, you’ll need to connect the electrical wiring.
- Turning Off the Power: Before working with electrical wiring, always turn off the power to the circuit at the breaker box. This prevents electric shock and ensures safety.
- Connecting the Wires: Connect the wires from the cabinet’s light fixture to the existing wiring in the wall. Match the colors of the wires: black to black, white to white, and green to green. Use wire connectors to secure the connections.
- Testing the Light: Once the wiring is connected, turn the power back on and test the light fixture. If the light works, you’ve successfully connected the wiring.
Finishing Touches
After installing the cabinet, take a few steps to complete the project.
- Caulking Around the Cabinet: Apply a bead of caulk around the edges of the cabinet where it meets the wall. This helps to seal the gap and prevent moisture from seeping behind the cabinet, potentially leading to mold growth.
- Cleaning Up: Finally, clean up any debris from the installation process. Remove dust, screws, or any other loose materials.

